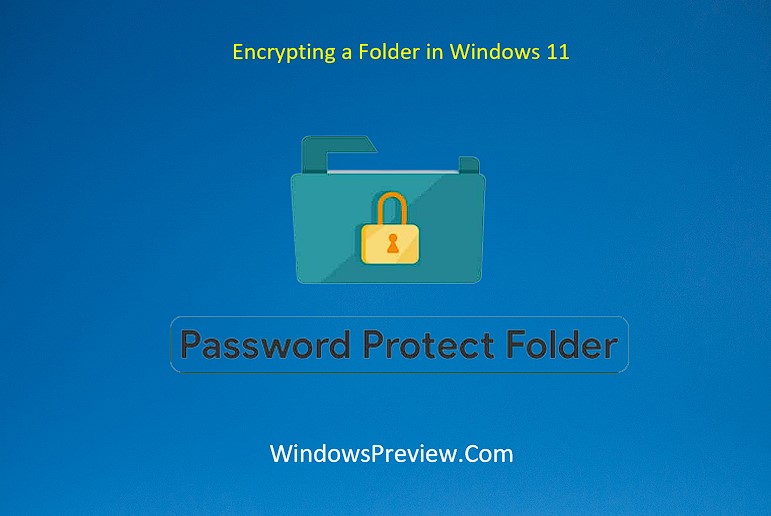
In an era where digital privacy is paramount, securing your personal and sensitive information is crucial. Encrypting folders adds an extra layer of protection, ensuring that only authorized individuals can access your data. Windows 11, the latest operating system from Microsoft, offers robust encryption capabilities that allow users to safeguard their folders easily. In this article, we will provide a comprehensive step-by-step guide on Encrypting a Folder in Windows 11.
Step by Step Guide to Encrypting a Folder in Windows 11
Step 1: Prepare Your System
Before diving into the encryption process, ensure that your system meets the minimum requirements for Windows 11. Check if your device is running the latest version of Windows 11 and make any necessary updates to ensure a smooth experience.
Step 2: Create a New Folder
First, create a new folder on your computer’s hard drive or in the desired location where you want to store your encrypted files. Right-click on the desktop or inside an existing folder, select “New,” and choose “Folder” from the context menu. Give your new folder a name that is easy to remember.
Step 3: Encrypt the Folder
- Right-click on the folder you want to encrypt and select “Properties” from the drop-down menu.
- In the “Properties” window, navigate to the “General” tab and click on the “Advanced” button located next to the “Attributes” section.
- In the “Advanced Attributes” window, check the box that says “Encrypt contents to secure data” and click “OK” to confirm.
- A new dialog box will appear asking whether you want to encrypt just the folder or its subfolders and files as well. Choose the option that suits your requirements. Keep in mind that encrypting the subfolders and files will take more time.
- Click “OK” to close the “Properties” window. You will also notice that the folder name has turned green, indicating that it is now encrypted.
Step 4: Back Up Your Encryption Certificate
Windows 11 generates an encryption certificate during the encryption process. It is crucial to back up this certificate to ensure that you can access your encrypted folder in the future, even if your user account or operating system becomes inaccessible.
- After encrypting the folder, you will see a prompt asking if you want to back up your encryption key. Click on the option to back up your certificate and follow the on-screen instructions to save it in a secure location, such as an external drive or cloud storage.
- Remember to keep this backup in a safe place, separate from the encrypted folder, to prevent unauthorized access.
Step 5: Accessing and Using the Encrypted Folder
Once you have encrypted a folder in Windows 11, accessing and using it is straightforward.
- Double-click on the encrypted folder, and Windows will prompt you to enter your user account password to gain access.
- After entering the correct password, you can freely access and modify the files within the encrypted folder, just like any other folder on your system.
- To decrypt the folder, simply right-click on it, select “Properties,” go to the “General” tab, click on the “Advanced” button, and uncheck the “Encrypt contents to secure data” option. Follow the prompts to decrypt the folder.
Encrypting folders in Windows 11 is an effective way to protect your sensitive data from unauthorized access. By following the step-by-step guide provided in this article, you can easily encrypt and secure your important files. Remember to keep backups of your encryption certificate and passwords in secure locations to ensure seamless access to your encrypted data. Prioritizing your digital security and privacy is vital in today’s interconnected world, and Windows 11 offers robust encryption features